Quick brief
- You command armies, not a pile of individual units. Learn the army control loop first.
- Regions are your base, economy and power grid. Owning ground is how you build an army at all.
- Ashes II punishes fighting without a plan far more than it punishes a low click rate.
- Start in the campaign or against low-difficulty AI. Multiplayer can wait until the systems feel familiar.
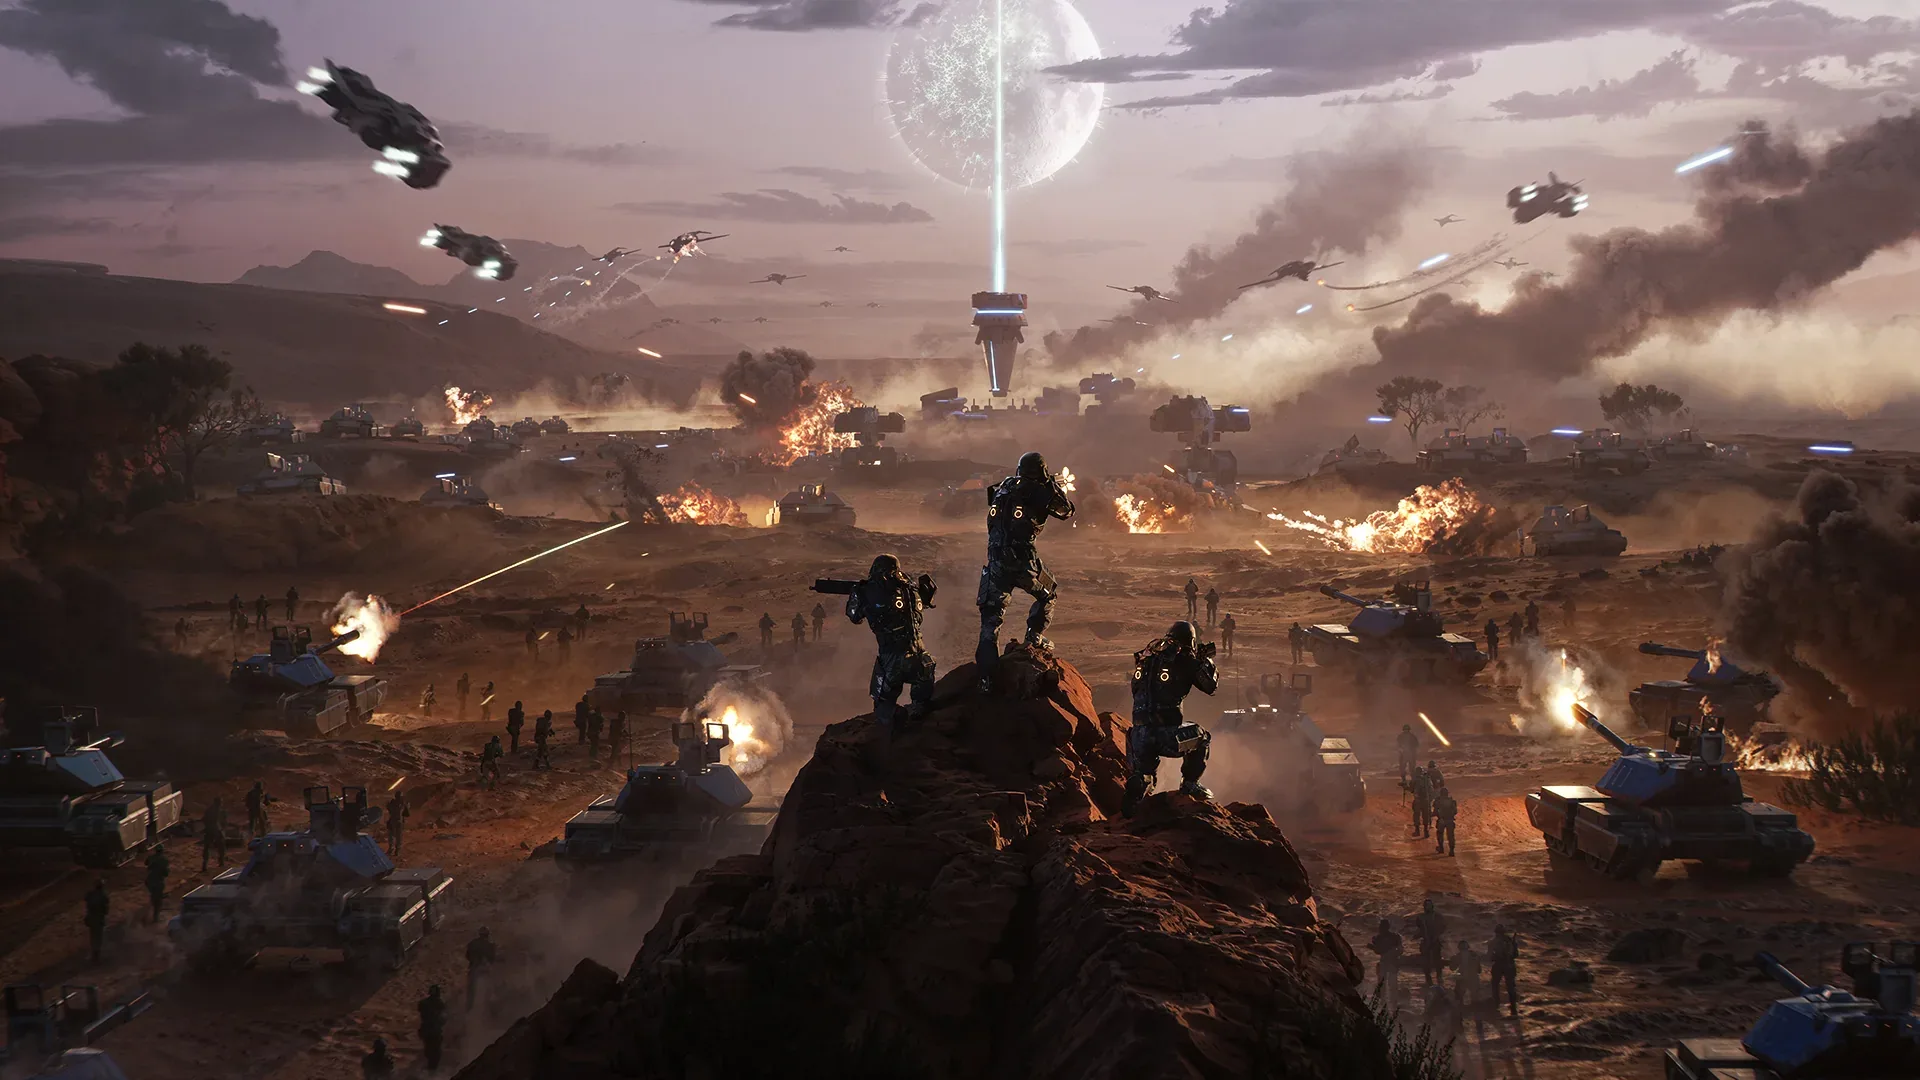
Ashes of the Singularity II looks like an avalanche of units. The camera can pull back until individual tanks are icons; battles can involve hundreds of vehicles, aircraft and soldiers. The trick is that you are not expected to treat every one of those pieces as a separate unit to babysit.
This guide is a spoiler-light route into the game. It explains the systems Stardock has demonstrated before launch and turns them into a practical first-week plan. It is written from official development material, not from a finished review build. Where the launch build can still change, we say so.
First, what kind of RTS is this?
Ashes II is a large-scale real-time strategy game about planning, logistics and combined arms. Stardock’s core pitch is unusual for the genre: speed and reflexes should not decide the battle. Preparation, production, terrain and army composition should.
That does not mean the game plays itself. It means the useful decisions happen above the level of “move this one tank two metres left”:
- Which regions do I take, and which do I defend?
- What is my army for, and what is it missing?
- Where should new production go?
- Which fight should I refuse?
- How do I turn a local win into a broken enemy region?
If you enjoy Dawn of War or StarCraft for tight unit micro, those skills still help. But Ashes II rewards a general’s view first.
Build your mental model in eight rules
1. An army is the unit you actually control
Every unit you build joins an army. You select the army, issue the order, and its units work together to reach the destination in formation. If enemies appear nearby, the army has a degree of autonomy to defend itself rather than waiting for a fresh click.
This is the biggest change to internalise. You will spend more time deciding what belongs to an army than ordering individual vehicles around.
When a fight starts, you can still intervene: move a unit, adjust the army’s facing or split off a group. But the baseline is army-level command.
2. Regions are your base, not a pile of buildings
The map is divided into regions. Owning a region gives you income, power and the ability to place structures. Buildings no longer live in one neat “base” you rebuild after every raid. Your empire is a network.
Connectivity matters. A region that is cut off from your home network can lose power and stop contributing. The region layer is therefore a military target, not just a construction screen.
3. Economy is a flow, not a stockpile
The developers describe a streaming-style economy: production spends resources as work happens, rather than requiring the full cost upfront. The skill is to keep investment flowing into useful production instead of sitting on a huge treasury.
Ashes II’s current resource picture includes material resources and regional baseline outputs. Official material has described Metal and Elerite, as well as Quanta and Logistics as baseline region income. Exact launch costs and rates are not all public, so do not copy a build order from a pre-release video and assume it is optimal. Learn the shape of the economy first: expand, connect, place production, spend.
4. Production placement is a strategic decision
Production buildings contribute to recruitment across the map. Newly requested units spawn from a suitable factory, and reinforcement can rally to an existing army. A forward factory shortens the journey to the front; an exposed factory gives the enemy a target.
The real question is not “how many factories do I have?” It is “how quickly can replacements reach the fight that matters?”
5. Terrain is a weapon
Weapons are mounted on turrets with limits. Tanks need to crest hills to depress their guns; long-range units can struggle if the angle is wrong. Elevated artillery and static defences can be protected by the terrain they overlook. Chokes can turn a larger army into a queue.
Make terrain part of the plan. Put long-range fire where it can see the fight, keep your front line between it and the enemy, and make the opponent attack through the narrowest possible approach.
6. Information beats speed
Scouting is not a formality. You need to know whether the enemy is building a heavy armoured push, massing aircraft, or quietly taking the map.
Use the Strategic Zoom to read the whole frontline. A recon army or fast units should be a standing part of your force, not a single unit you send out once and forget.
7. Victory is a plan
Matches can be won by destroying the enemy’s headquarters or through the Turinium victory condition, where teams compete over generators and accumulate points. Custom victory settings can change the length of the match.
That means you should decide early whether you are playing a pressure game, a long economic game or a Turinium race. A huge army that ignores the objective can lose to a smaller one that understands the clock.
8. Losses are investments
Unit upgrades can add health, weapon power and modules. Stardock has explicitly warned that if an upgraded unit dies, everything invested in it is lost. The same logic applies at army scale: an expensive push without reinforcements or a retreat route is a gamble, not a strategy.
Your first three sessions
Session one: learn the control loop
Play the campaign or a small skirmish against a low-difficulty AI. Do not try to win quickly. Practise:
- Create an army and give it a move order.
- Add units to the army.
- Turn on automatic reinforcement if it is available in your build.
- Adjust the army’s facing before contact.
- Split off a small group and merge it back.
Use the tactical pause in offline play if you need time to read the interface. There is no prize for pretending to be fast while learning.
Session two: learn the map layer
Start a new skirmish and make the first objective “understand my regions”, not “destroy the enemy”. Take a few connected regions, check their power and resource output, and build production in a forward but defensible place. Watch what happens when a link is cut.
This is also the session to practise scouting. Send fast units along several approaches. You are training your eyes as much as your army.
Session three: fight a deliberate battle
Build one army with a clear front line and one army with a clear support role. Use terrain. Protect your ranged units. When the fight goes badly, retreat instead of feeding more units into the same angle. Then reinforce and attack somewhere else.
You will learn more from one controlled retreat than from five messy victories.
Which faction should you start with?
Start with the UEF if you want the most conventional roster and the campaign framework. The United Earth Forces have infantry, tracked armour, artillery and aircraft, and the campaign is told from their point of view. Their units are described as weaker individually than the PHC’s, so the faction teaches the value of combined arms and reinforcement.
Try the PHC if you prefer expensive, durable units and a more deliberate style. The Coalition does not field infantry; its cheapest line unit is the Brute, and its identity is built around armour, repair and brute force. You will feel every loss.
Try the Substrate if you like constant pressure. Their shields regenerate on their own, and their drone swarms reward aggression. The faction asks you to attack, disengage, recover and come back before the opponent can reset.
None of these is a difficulty setting. They are different answers to the same problem. The best first faction is the one whose rhythm you can actually execute while still remembering to expand.
Common beginner mistakes
Treating it like a small-scale RTS
If you spend the whole match moving individual units, you will not have attention left for production, regions and the next fight. Use armies, control groups and the Strategic Zoom.
Building a beautiful base in one corner
Regions are the base. If you never push out, you are not playing the map. You are defending a diorama.
Ignoring power and connectivity
A building that cannot be powered is not an asset. A forward region that can be cut off is a liability until you secure the route. Check the network, not only the structure queue.
Reinforcing a losing fight
New units arriving one at a time into an enemy kill zone is not reinforcement; it is a delivery service. Retreat, regroup and spend the production on a different plan.
Copying an exact build order
Pre-release balance changes. Even at launch, map generation, region layout and opponent behaviour will change what is correct. Learn the purpose of each structure and unit, then adapt.
Skipping the tutorial
The campaign is explicitly designed to teach the game’s mechanics as the story unfolds. That makes it a better first stop than diving into a ranked queue on day one.
What you can safely ignore before launch
You do not need to memorise exact unit stats, all 38 units in our current database, or a final-tier build order. Some values have changed during development and may change again. The public sources do not give exact costs or damage values for every unit.
What will still matter after any balance patch:
- connecting and defending regions;
- keeping production close enough to reinforce;
- scouting before committing;
- using terrain and formation;
- knowing when to retreat.
Those are the durable skills.
Launch-day checklist
- Download the game ahead of time if you can; the listed install size is 50 GB.
- Start the campaign on a comfortable difficulty and let the tutorial introduce the systems.
- Play at least one skirmish against AI before multiplayer.
- Set a control scheme you can remember and practise two or three army hotkeys.
- Check the in-game tooltips for launch values instead of trusting pre-release numbers.
- If you write down a build order, treat it as a hypothesis and test it on several procedurally generated maps.
The one-sentence version
Take connected ground, build where replacements can reach the front, put the right units behind the right front line, and fight only when the map gives you an advantage.
If you can do that, the size of the battle stops being intimidating and becomes the point.
Evidence log
Sources & method
This guide uses official Stardock and Oxide Games material wherever possible. Strategy advice is our own interpretation of those systems, not a claim about a hidden optimal build. Values and balance can change between the pre-release build and launch. Last verified November 1, 2026.
Continue the briefing